Sometimes, having similar items can be confusing. To avoid this problem, you can put labels on your boxes, and creating custom labels is the best way to organize your pantry and other materials. In this blog, you will learn ‘how to make labels with Cricut‘.
You can use two methods to create personalized labels. The first method uses vinyl, and the second method uses a Cricut pen to print on the material. Once you have made it, you can apply it to the boxes, and here I am going to write about the vinyl method. So, let’s get started!
What Materials Do I Need to Make Labels?
To make labels with your crafting machine, you should first know that you will need tools and materials. Here is the list of supplies and tools which you are going to need:
- Cricut Explore
- Pantry jars
- Permanent vinyl
- Scraper tool
- Weeding tool
- Transfer tape
How to Make Labels With Cricut Cutting Machines
Once you have collected all the required materials and tools, you can start working on this label project. The Cricut app is your template for creating tea, coffee, and some other labels. You can also start with a blank canvas in the software from scratch. Read the below step-by-step process:
Step 1: Create a Design

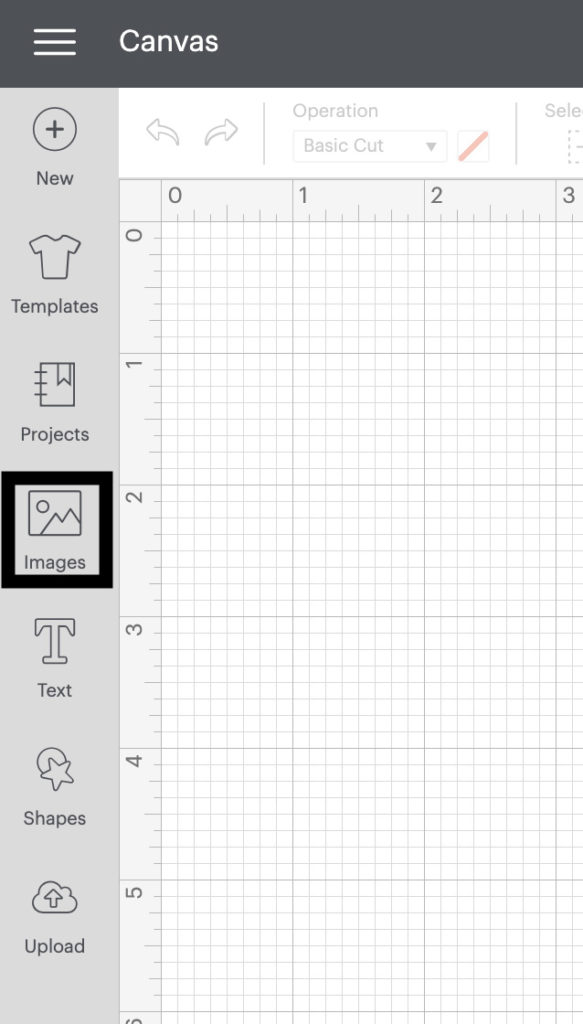
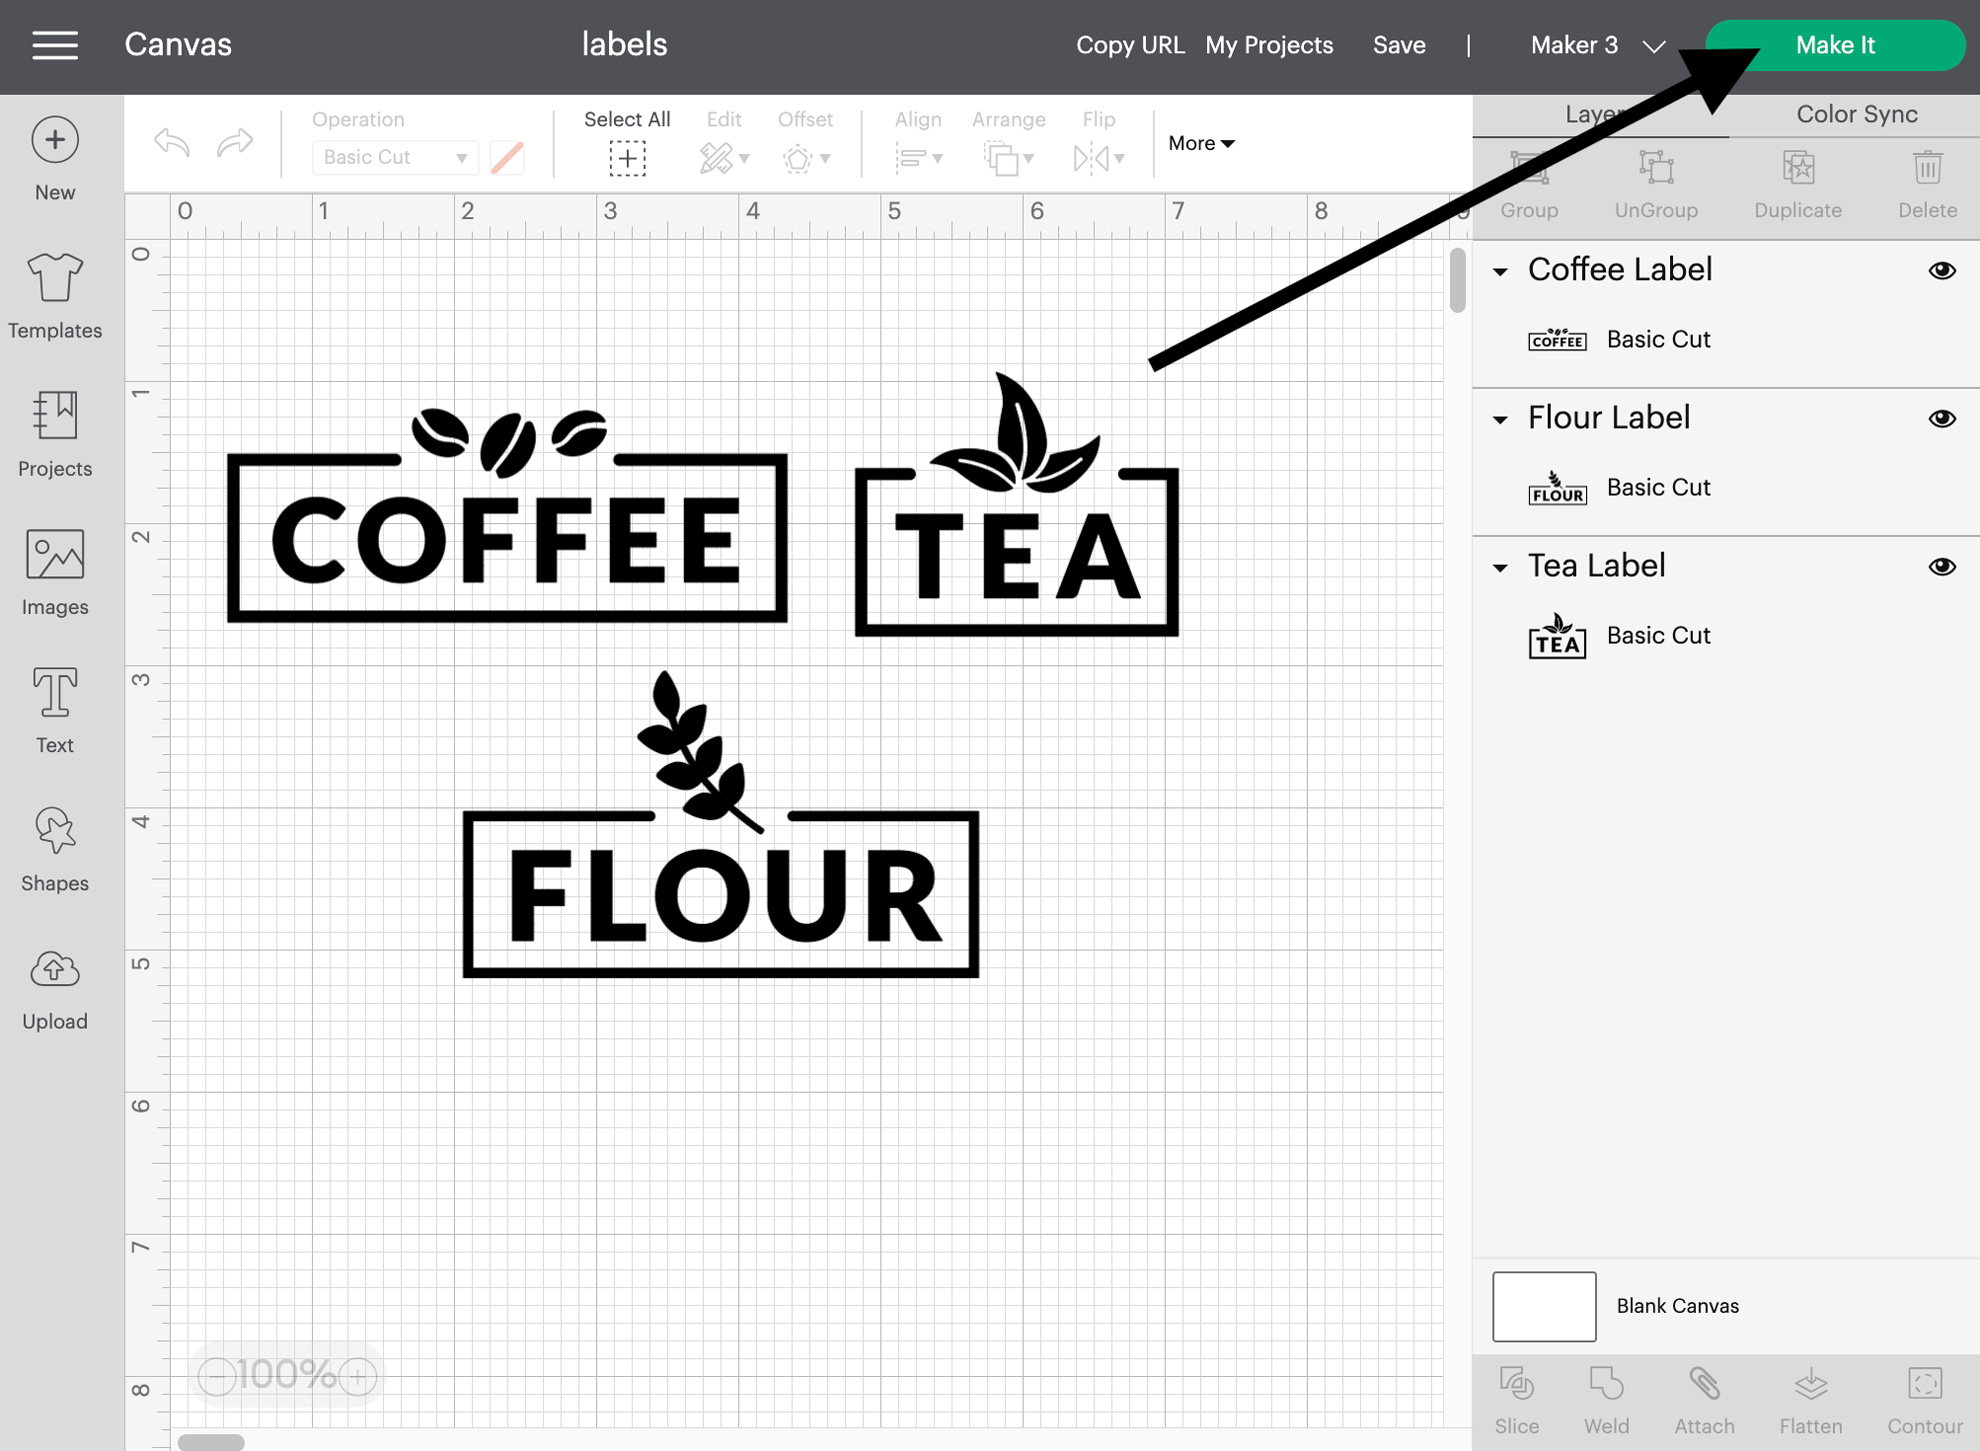
To make your custom label, the very first thing you have to do is create your text design. To do so, open the Cricut Design Space app on your computer. Then, click on New Project on the home page and then select the Images option. In the search bar, type in Pantry Label, and you will get a variety of options. You can choose any image which you like. Just remember one thing: choose images that can be easily weeded out.
Now, choose as many different labels as you would like and place them onto the Canvas. After that, adjust the size of each label. Also, you can make your own label by choosing the Text option from the left side of the toolbar.
Step 2: Cut All the Labels

Once you are happy with your design and before sending it for cutting, you need to click on the Make It button. The application starts to send commands from the app to your machine for cutting. To start the cutting process, put the vinyl on the mat and place it inside the machine. When you have set everything, you need to hit the Load button on the machine.
Step 3: Weed the Design
When you are done cutting your design, unload your mat and remove the material. Gently use a weeding tool to remove any excess vinyl from your design. This tool provides you with clear and precise design results.
Step 4: Applying the Design

Before you apply your design to the jars, make sure they are clean and dry. Next, cut a piece of transfer tape larger than your label and apply the transfer tape on the top of the sheet. Finally, cut the labels, and they will be ready to transfer to your surface.
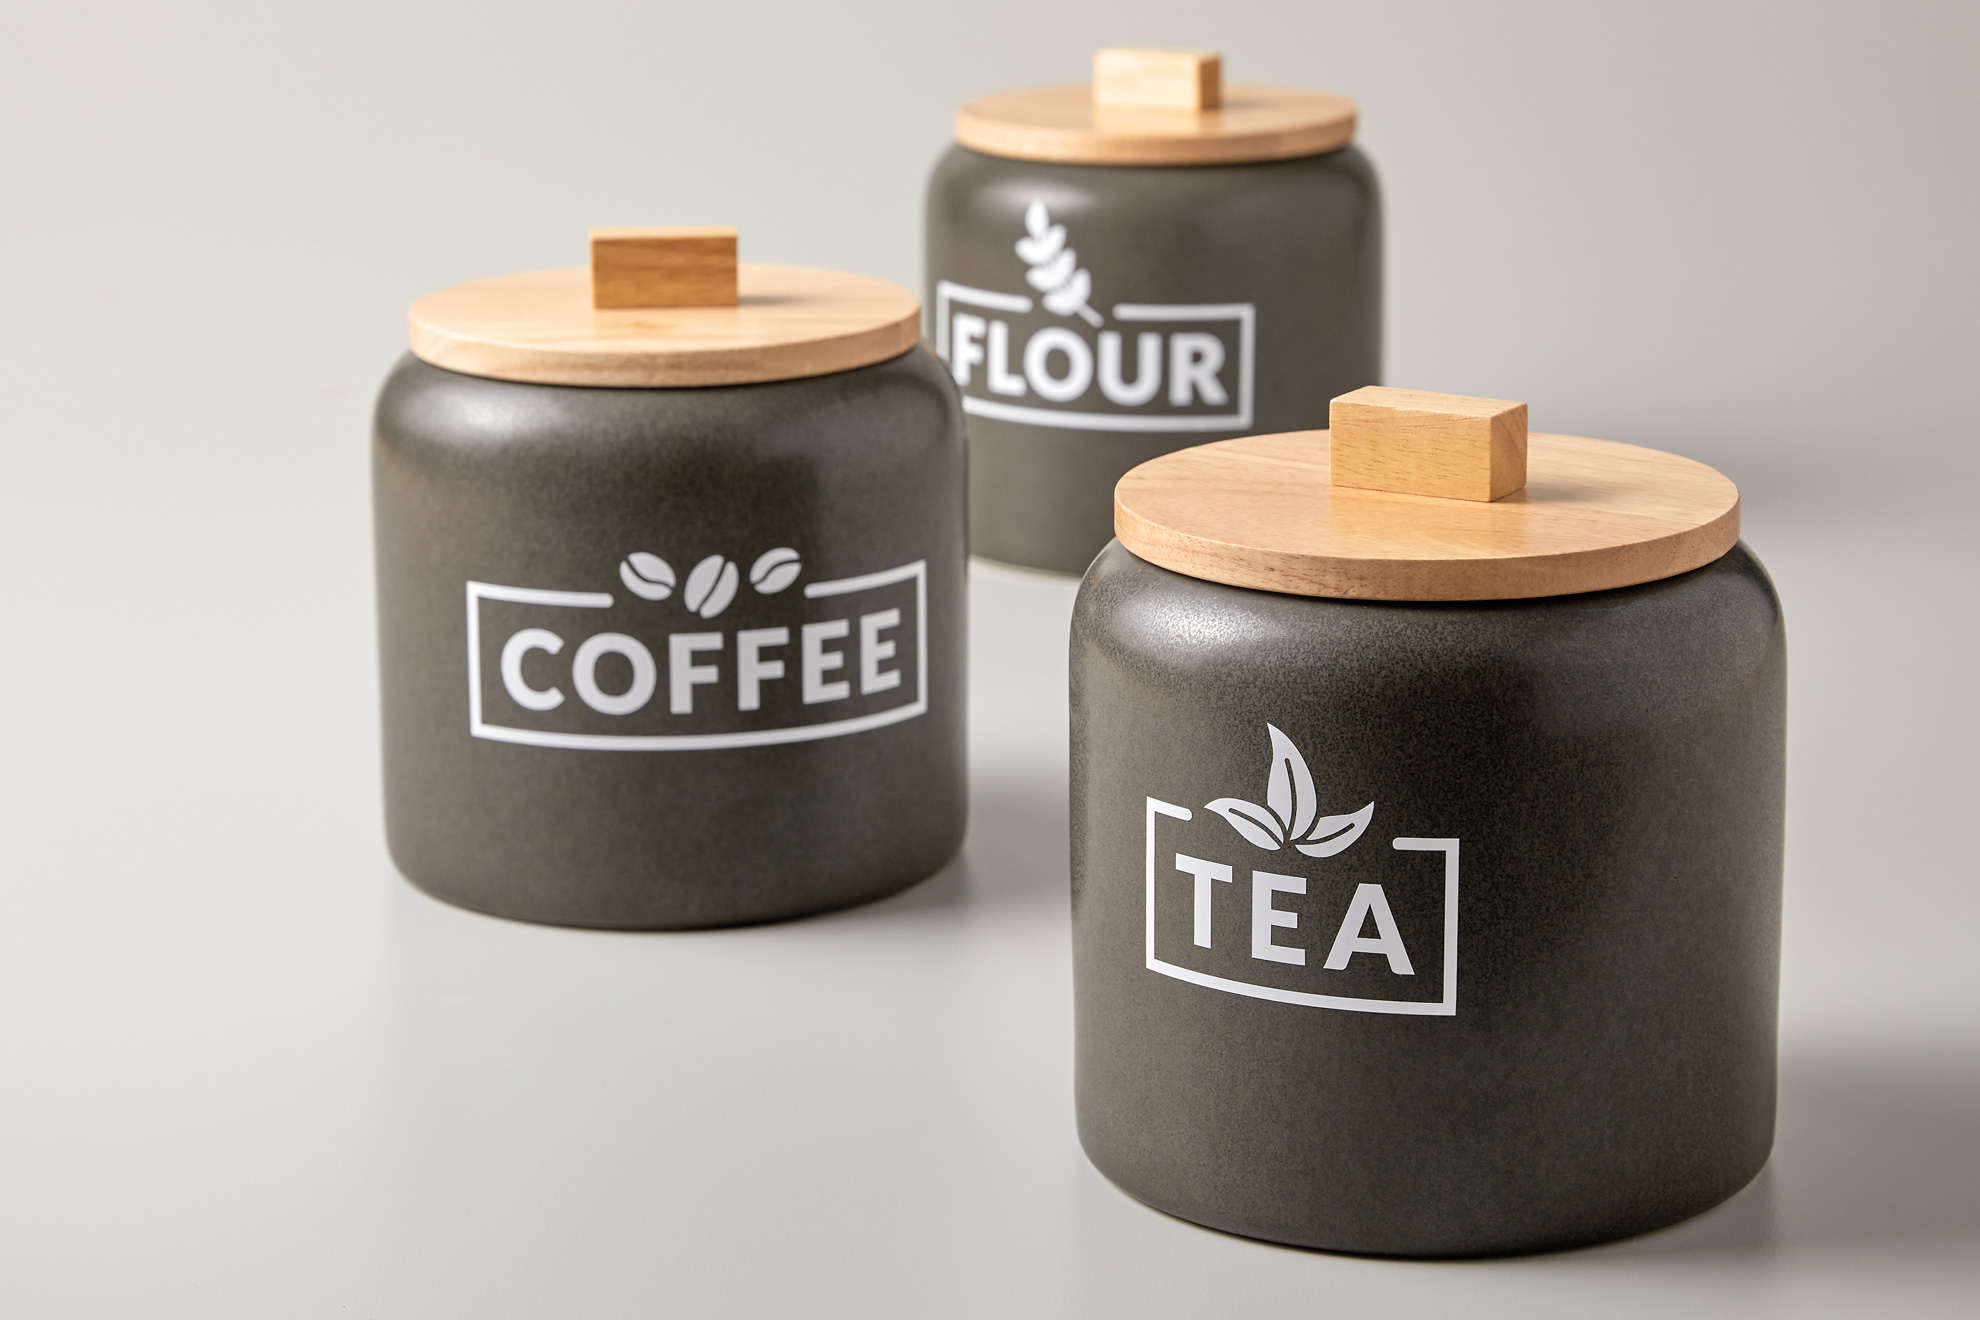
Now, take your time, lay down each one to reduce wrinkles or bubbles, pick up the label, and put it exactly where you want it to place your design. If bubbles form after placing the design, use a scraper tool to smooth them out. Bubbles can prevent the label from sticking properly. Your gorgeous labels sure look great on clear containers.
Important Note: There is another option for making labels with your machine. It includes using a Cricut pen or maker to write your text on cardstock and cut the material in whatever shapes you want. This is a great way to get the look of handwritten labels without writing them yourself.
Conclusion
In short, learning ‘how to make labels with Cricut‘ is not that difficult. This guide helps you understand the required materials and process. Labels are one of the most important and useful things that you can create with Cricut, and you can use them in your kitchen or to sort out your materials. Now, you can easily create labels with the help of the Cricut Design Space app and a cutting machine. I hope you personalize all the things and make your unique labels with them.
Frequently Asked Questions (FAQs)
What are the premade Cricut labels?
Premade labels are the label designs available in the Cricut Design Space app. In the library section, go to the search bar type label, and you will get all the premade labels ready to use. All these labels are ready; you just have to print, cut, and then use them directly. However, you can always cut it down according to your projects.
Can you make labels with a Cricut?
Yes, you can make design labels from scratch using the Cricut Design Space app. First, you need to click on the New Project section on the main page. Then, click the Image button, choose an image that you like, and then put your vinyl on the mat and send it for cutting. Once it is cut, you can use the weed tool to remove the extra part of the design, and your label will be ready.
What Cricut supplies do I need to make labels?
There are several ways to make labels, but it does not matter which kind of label you make. These are some of the art supplies that you need for making labels like Cricut Explore, Maker or Joy machine, design template, premium fine-point blade, mat, scarper tool, smart vinyl, and weeding tool.
