
Cricut.com/Setup | Setup Cricut ID | Setup Cricut Design Space
Cricut machine yet? If not, go to cricut.com/setup and check out what are your craft options. This guide will direct you to use the setup instructions for your machine connection with other devices. Working with craft projects, especially when you can easily access them, can be an exciting journey. However, before creating the projects, you have to set up each part of the machine together. And not knowing how to do it can lead to a problem. But you shouldn’t worry, as we have brought a proper guide that includes instructions for all your requirements.
For more details related to the Cricut machine, you need to visit the cricut.com/setup website and find out how you can manage your projects with the Cricut machine. Now, without wasting our time, let’s get started to attempt various Cricut tasks for your project needs.
How to Create Projects in Cricut Maker Machine Using Cricut.com/setup?
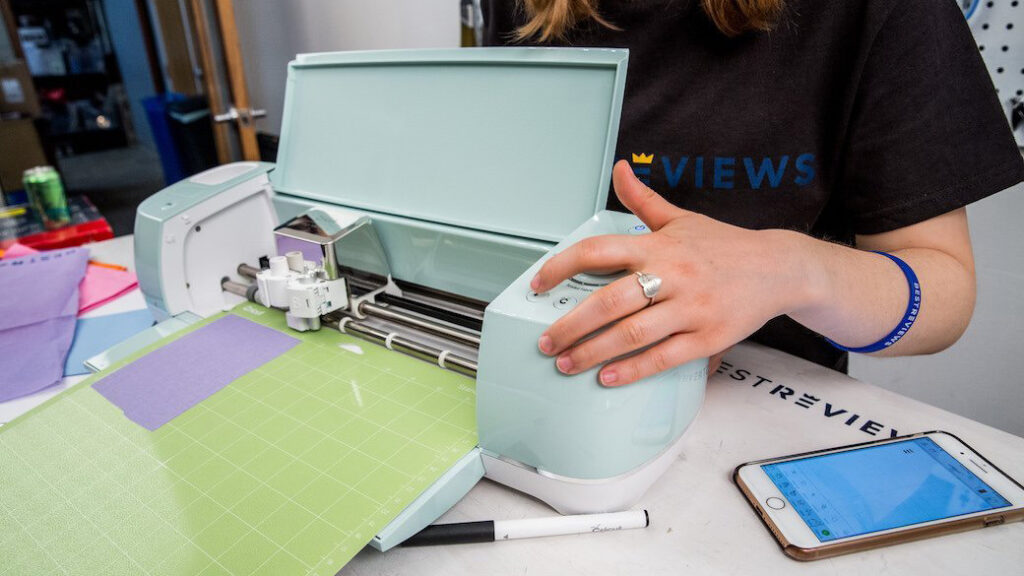
If you are someone who loves to play with crafts but often struggles to figure out technologies, this is the right place for you. Cricut Maker 3 is the most recent edition of Cricut that allows you to use its advanced tools and features for your crafts. You can cut almost anything with the Cricut cutting machines, as they make your crafting experience easy and attractive. Now, the materials you can use to cut, score, write or customize are fabric, paper, card stock, leather, and wood (balsa wood or basswood). Now, you know which one is the best Cricut machine to ease your crafting burden.
Here is how you can cut materials with your Cricut Maker 3 machine. Follow the steps given below and create your first project.
- In the first step, you have to select a cutting material.
- Next, use the sticky mat that came with your Cricut machine packaging.
- Then, you need to position the selected material on the cutting mat.
- The cutting mat is used to hold the material in the correct position to get a perfect result.
- After that, you are required to choose a design in the Cricut Design Space.
- If you do not have the app, go to the cricut.com/setup website and download it.
- Thereafter, change the material setting and send the created design to the Cricut Maker 3 machine.
- Next, press the button visible on the top of your Cricut machine.
- Simply remove the mat once your Cricut Maker 3 machine has completed the design.
- After that, you can remove the material from the mat as well.
For more details, you can visit the cricut.com/setup website and check out the materials you will need to use for particular machines.
How to Use a Printer for Your Cricut Maker Machine?
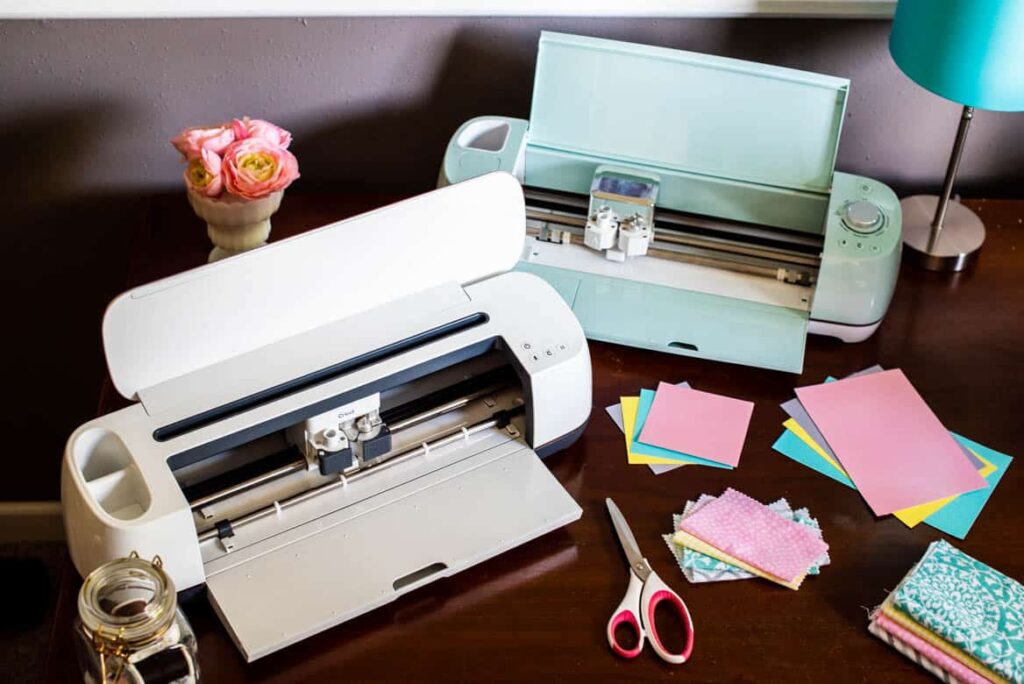
In order to set up a printer for your Cricut machines, you have to do the following steps.
- Before setting up a printer and Cricut machine, you need to download the Cricut Design Space software on your device through cricut.com/setup.
- Once you have completed downloading the software/ app, you must sign in to the Cricut Design Space account.
- If you are creating a Cricut project for the first time, you will need to register a new account and sign in.
- Then, you have to choose a Cricut machine and tap the Download button.
- After that, you should wait until the setup is downloaded on your device.
- In the next step, you are required to double-tap the install.exe file and start installing the software.
- Once you have completed the Design Space installation, your Cricut machine is ready to create new designs.
- Now, you should plug your Cricut Maker machine in.
- After that, switch on your Cricut Maker machine and connect it to the computer.
- You can connect the Cricut machine printer using a USB cable or Bluetooth.
- In the end, your Cricut cutting machine is connected to a printer.
- Now, you can visit cricut.com/setup and use the free designs in Cricut Design Space, or you can make your own designs.
How to Set Up Cricut Explore Machine to Windows?
If you want to set up your Cricut Explore machine to a Windows device, you must follow the steps below.
- First, you need to plug the Cricut Explore Machine in and switch it on.
- Next, connect the Explore machine to the Windows device via a USB cable, or choose the Bluetooth method.
- Then, you need to open an internet browser.
- After that, you have to navigate to the cricut.com/setup website.
- Now, start installing the “Cricut Design Space” software on your device.
- Thereafter, attempt the steps prompted on your screen and sign in.
- If you haven’t worked on a Cricut machine before, you must create an id and password.
- After that, you have to set up your Cricut Explore machine.
- After the machine setup is complete, your screen will prompt the notification.
- Now, your device will be ready to cut the first project via cricut.com/setup.
How Do You Set Up Cricut Explore Machine on iOS via Cricut.com/setup?
If you want to set up your Cricut Explore machine to an iOS device, you must follow the steps below.
- First, you need to plug the Cricut Explore machine in and power it on.
- Next, connect the iOS device with the required Cricut device via Bluetooth.
- Then, you need to launch the app store and download the Cricut Design Space app.
- After that, you can open the Cricut Design Space application.
- Once you have opened the app, you need to sign in with your ID and password.
- If you haven’t signed up for a Cricut account before, Create a Cricut ID to access the account.
- In the end, you need to tap on the menu.
- After that, you have to click on the Machine setup.
- Once the machine setup is attempted, you can start your project using cricut.com/setup.